Dessert Plan
Bake, cool, and serve
Use these cues for timing, storage, and the small serving move that makes dessert feel finished.
- Method
- No-bake
- Timing
- Cook No cook
- Make-ahead
- Good make-ahead sweet
- Serve with
- Coffee, tea, fruit, cream, or a quiet plate
Recipe Notes
Why this works
A firmly pressed graham-peanut butter base sets in the refrigerator, while a little peanut butter in the melted chocolate keeps the topping sliceable instead of brittle.
Peanut butter
Use no-stir creamy peanut butter for the most reliable texture. Separated natural peanut butter can make the base crumbly, greasy, or grainy.
Graham cracker crumbs
The crumbs give the bars structure. Crush sheets finely, or use boxed crumbs if that is easier.
Chocolate
Semi-sweet chocolate keeps the bars classic. A spoonful of peanut butter in the chocolate helps the top cut more neatly.
Start Here
Peanut butter bars without the oven
These no bake peanut butter bars are for the night when dessert sounds good and the oven sounds like a personal attack. The base is peanut butter, graham cracker crumbs, powdered sugar, and melted butter. The top is chocolate with a little peanut butter stirred in so it sets firm but does not shatter at the first slice.
The useful move is pressing the base firmly before the chocolate goes on. The refrigerator does the setting, but your hands do the structure. If the base is loosely patted in, the bars will taste fine and slice like a small landslide.
Why It Works
What makes no-bake peanut butter bars set?
No-bake peanut butter bars set because graham cracker crumbs and powdered sugar absorb moisture from peanut butter and melted butter, then the mixture firms in the refrigerator under a chocolate layer.
The base should feel like a thick dough, not loose crumbs and not frosting. Powdered sugar helps bind without grit. Graham crumbs keep the bars from becoming straight peanut butter fudge. A little salt keeps the whole thing from tasting flat.
I like an 8-inch pan here because it makes a small, tidy slab. It feels like a treat you can keep in the fridge, not a whole cafeteria tray asking for a destination.
Ingredients
What you need
- 1 cup no-stir creamy peanut butter
- 6 tablespoons unsalted butter, melted
- 1 1/2 cups graham cracker crumbs
- 1 1/4 cups powdered sugar
- 1/2 teaspoon vanilla extract, optional
- 1/4 teaspoon fine salt
- 1 1/2 cups semi-sweet chocolate chips or chopped chocolate
- 2 tablespoons no-stir creamy peanut butter, for the chocolate topping
- Flaky salt or finely chopped peanuts for finishing, optional
Use no-stir creamy peanut butter for the steadiest texture. Separated natural peanut butter is harder to predict: it can make the base dry and crumbly, greasy, or grainy depending on the jar. If that is all you have, stir it extremely well and use the texture cues below before pressing the base into the pan.
Graham cracker crumbs should be fine, not chunky. If you are crushing whole crackers, use a rolling pin, a bag, and a little patience. The bars do not need bakery precision, but they do need small crumbs so the base presses together.
Method
How to make no-bake peanut butter bars
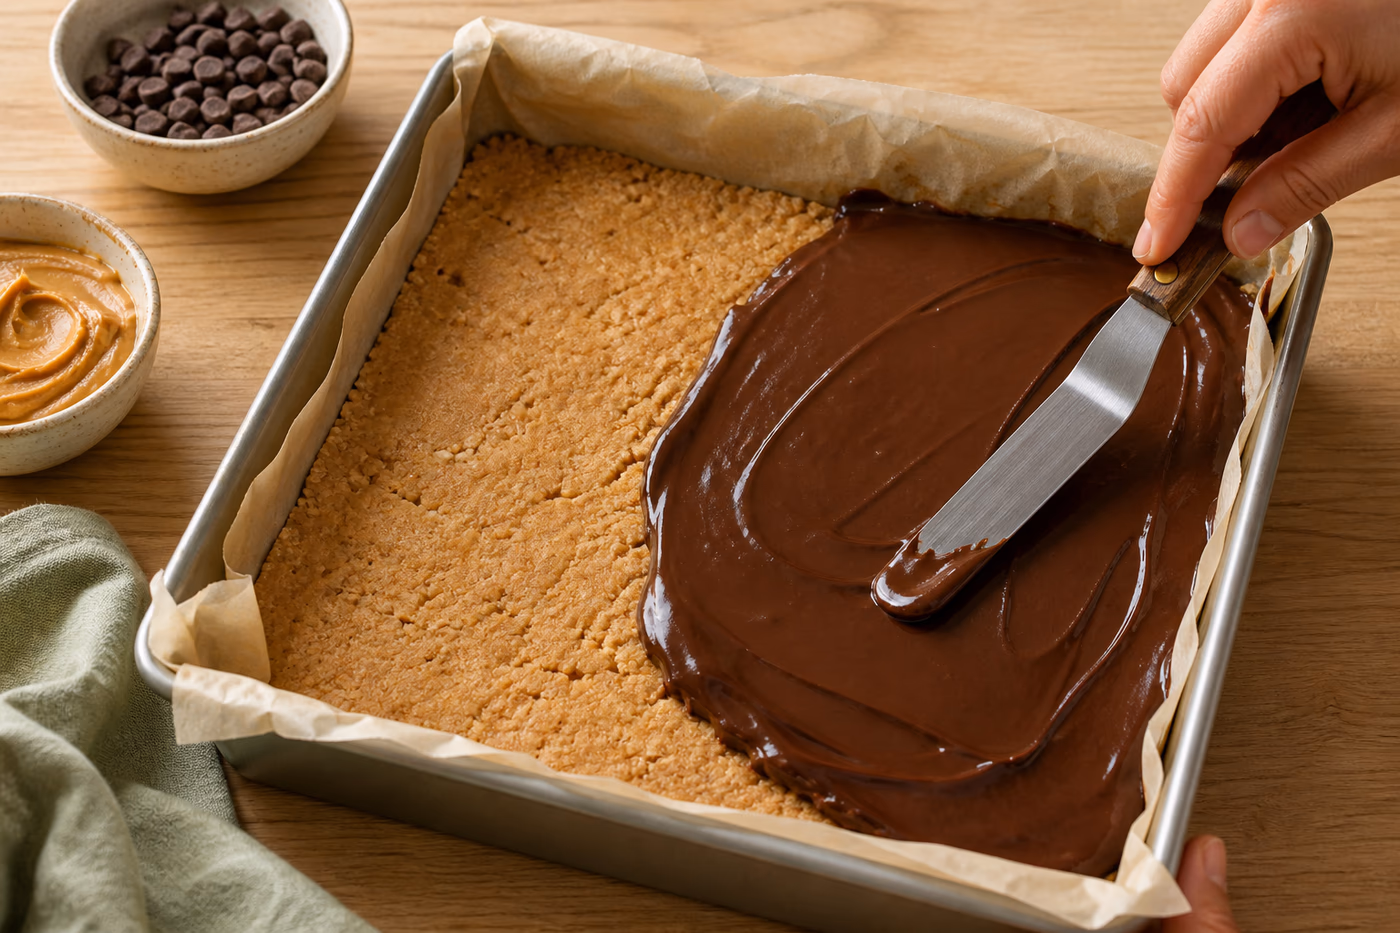
- Line an 8-inch square pan with parchment paper, leaving enough overhang to lift the bars out later.
- In a mixing bowl, stir the peanut butter, melted butter, graham cracker crumbs, powdered sugar, vanilla if using, and salt until the mixture is thick and evenly moistened.
- Press the peanut butter mixture firmly and evenly into the prepared pan, especially into the corners.
- Melt the chocolate with the 2 tablespoons peanut butter in a microwave-safe bowl in short bursts, stirring often, or melt gently in a small saucepan over low heat.
- Spread the chocolate over the peanut butter base in an even layer. Sprinkle with flaky salt or chopped peanuts if using.
- Refrigerate for 1 to 2 hours, until the chocolate is firm and the base slices cleanly.
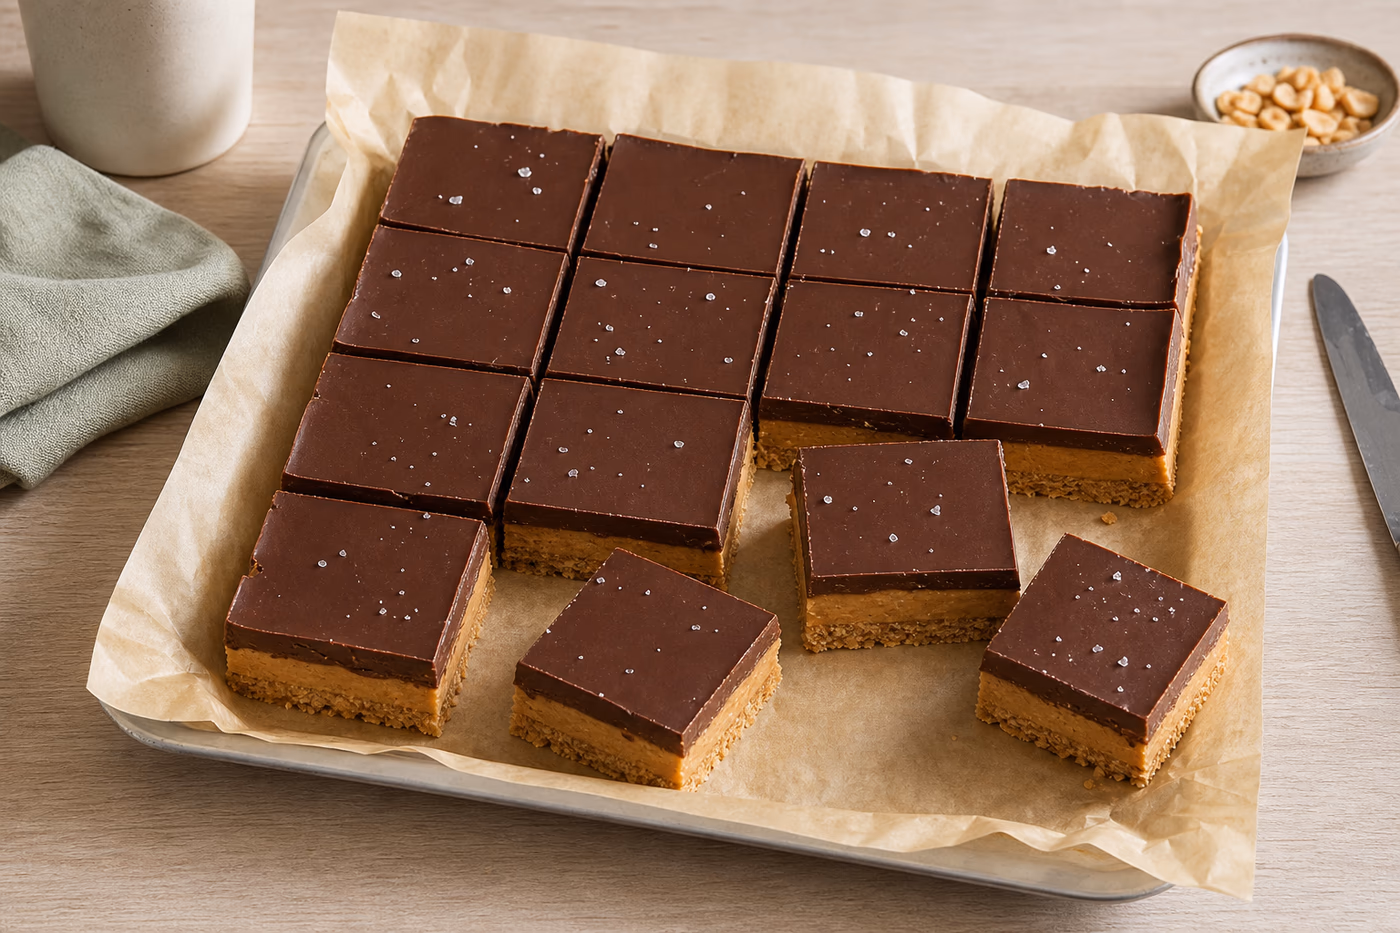
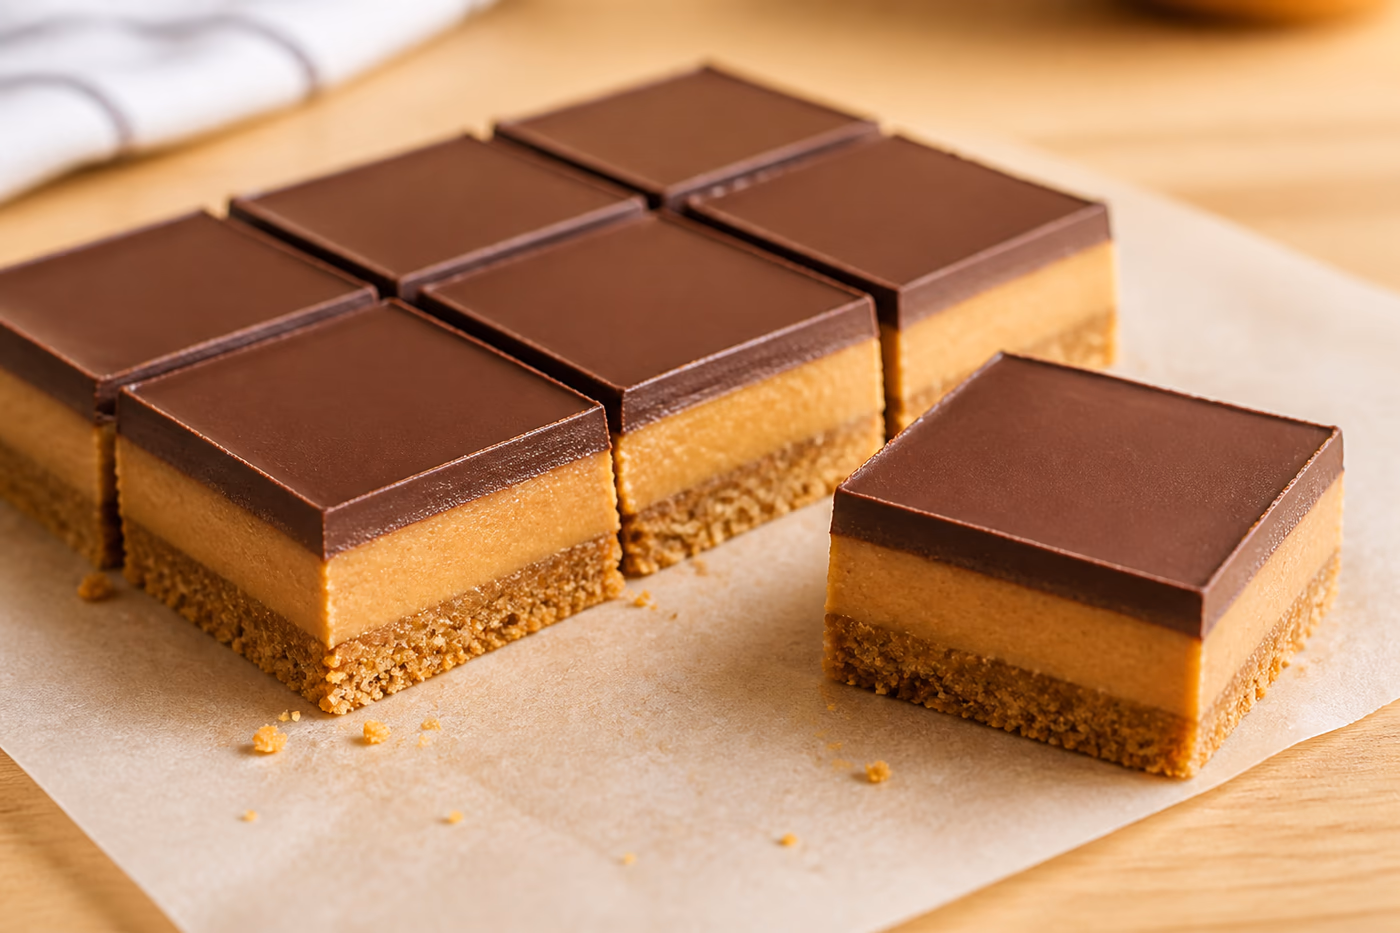
- Lift the slab from the pan. Let it stand for 5 minutes if the chocolate feels very hard, then slice into 16 small bars with a sharp knife.
Do not rush the chill. This is the rare recipe where the fridge is doing the baking job, and it needs time to finish. If the chocolate smears, chill longer. If it cracks, let it stand a few minutes before the next cut.
Texture
The press, chill, slice control panel
Small no-bake bars are easy to fix before they set. Use the texture of the base and the chocolate as your guide.
- Base looks dry or crumbly: mix in 1 more tablespoon peanut butter, then press again.
- Base looks greasy or too soft: add 1 to 2 tablespoons graham crumbs or powdered sugar.
- Chocolate cracks when slicing: let the slab stand at room temperature for 5 minutes, or run the knife under hot water and wipe it dry.
- Bars smear when sliced: chill the pan longer before cutting.
- Bars taste too sweet: finish with a tiny pinch of flaky salt next time.
My preference is cold bars, cut small. They are rich, and small squares make it easier to take one after dinner without turning the pan into a negotiation.
Plan Ahead
Storage and freezing
Store no-bake peanut butter bars covered in the refrigerator for the cleanest texture. They hold their shape best cold, and the chocolate top stays neater when the pan is not sitting on the counter all afternoon.
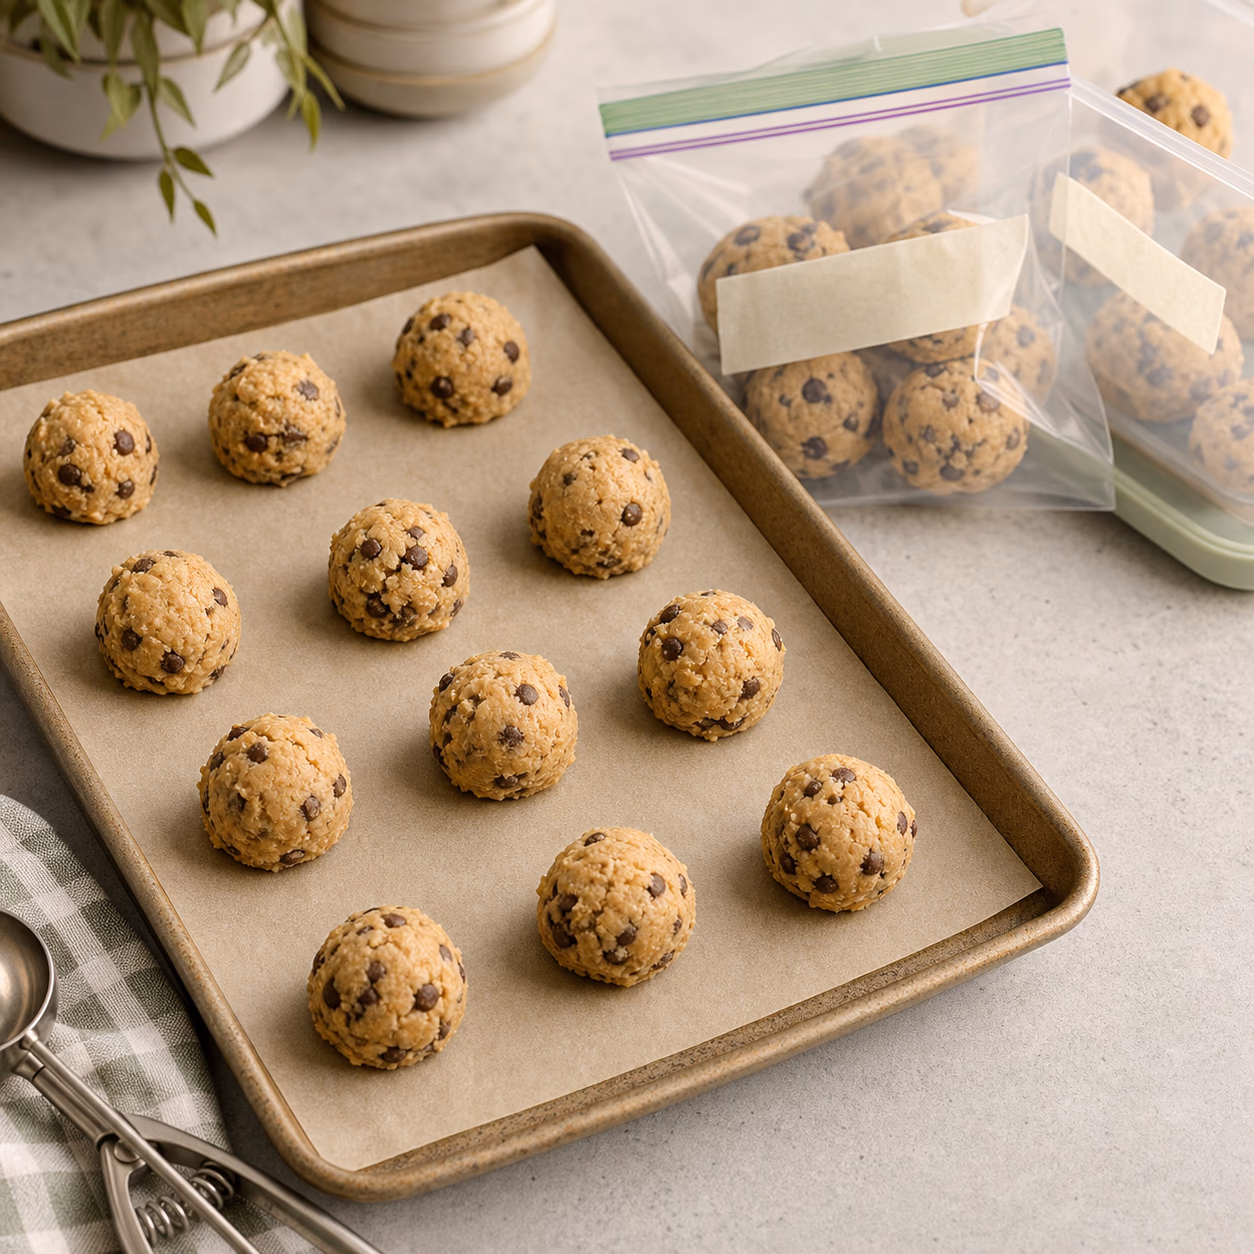
To freeze, cut the bars first, layer them with parchment, and pack them in a freezer-safe container or bag. Thaw in the refrigerator so the chocolate and peanut butter base stay tidy. For a broader freezer habit, keep them beside the freezer backup box, where one clearly labeled sweet thing can be useful without becoming a project.
If you are already making freezer cookie dough, these bars are the no-oven cousin: no scooping later, just thaw a few pieces when the kitchen needs a small sweet finish.
Safety
Allergy and serving note
These bars contain peanuts, so they are not safe for peanut-free households. Depending on the chocolate, graham crackers, vanilla, and toppings you use, they may also include milk, wheat, soy, sesame, or other allergens. Read labels carefully if allergies, halal suitability, or cross-contact matter in your kitchen.
Keep the bars refrigerated for storage. They can sit out for a short dessert service, but they taste and slice best cold. In a warm kitchen, bring out only what you plan to serve and return leftovers to the refrigerator after a couple of hours.
Serve
What to serve with peanut butter bars
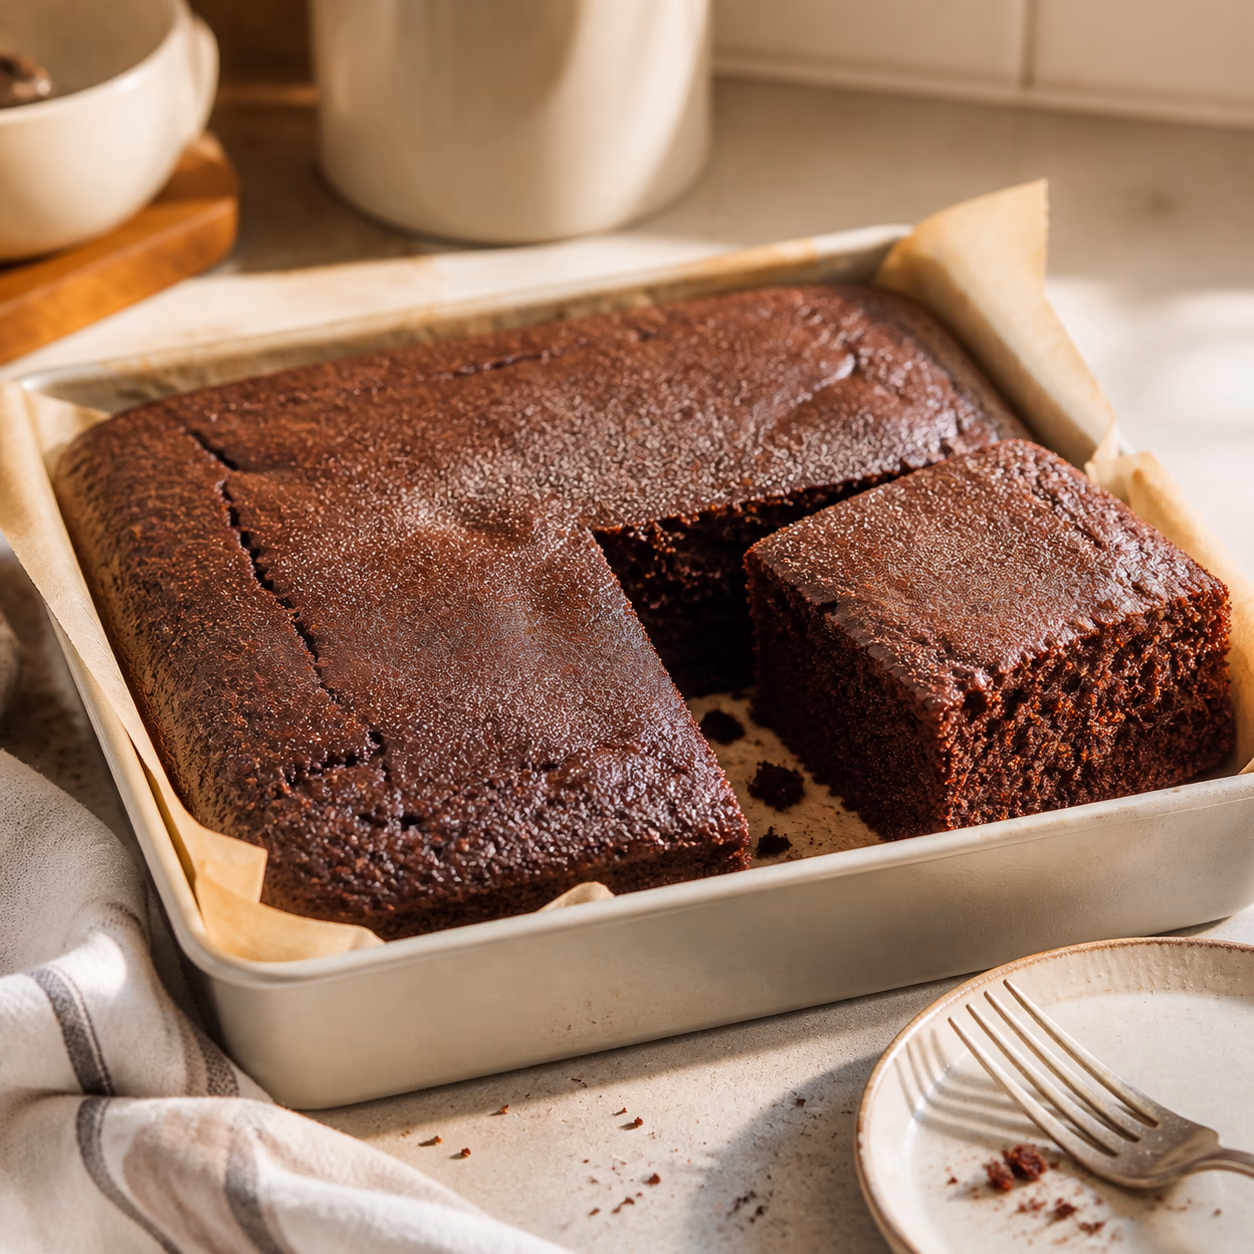
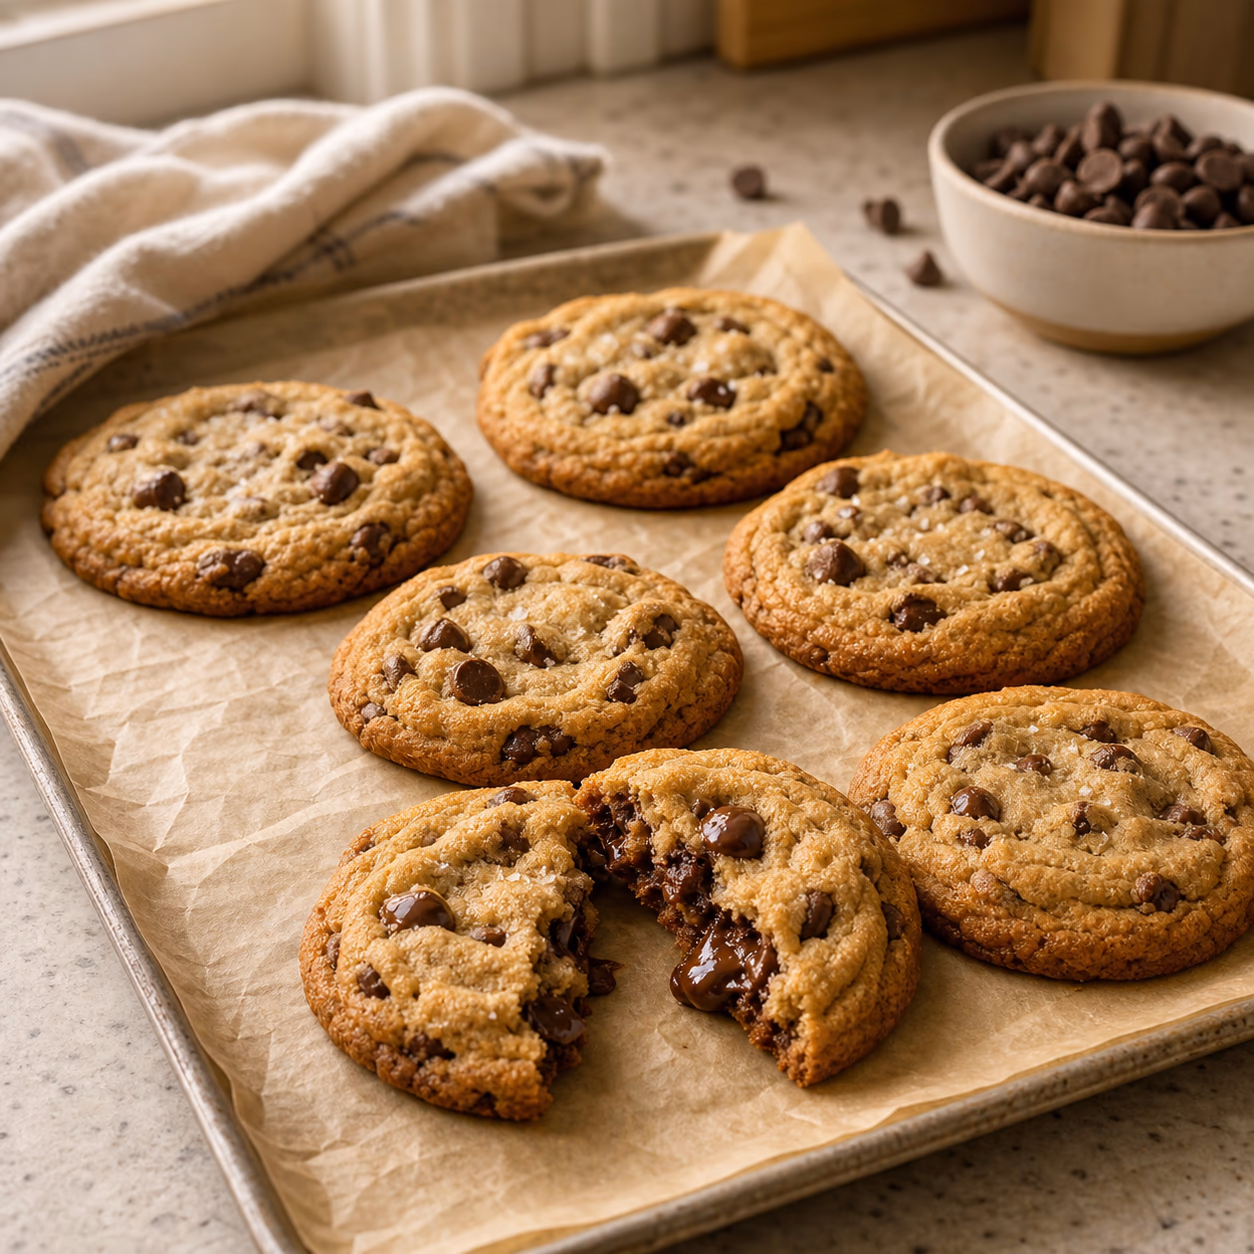
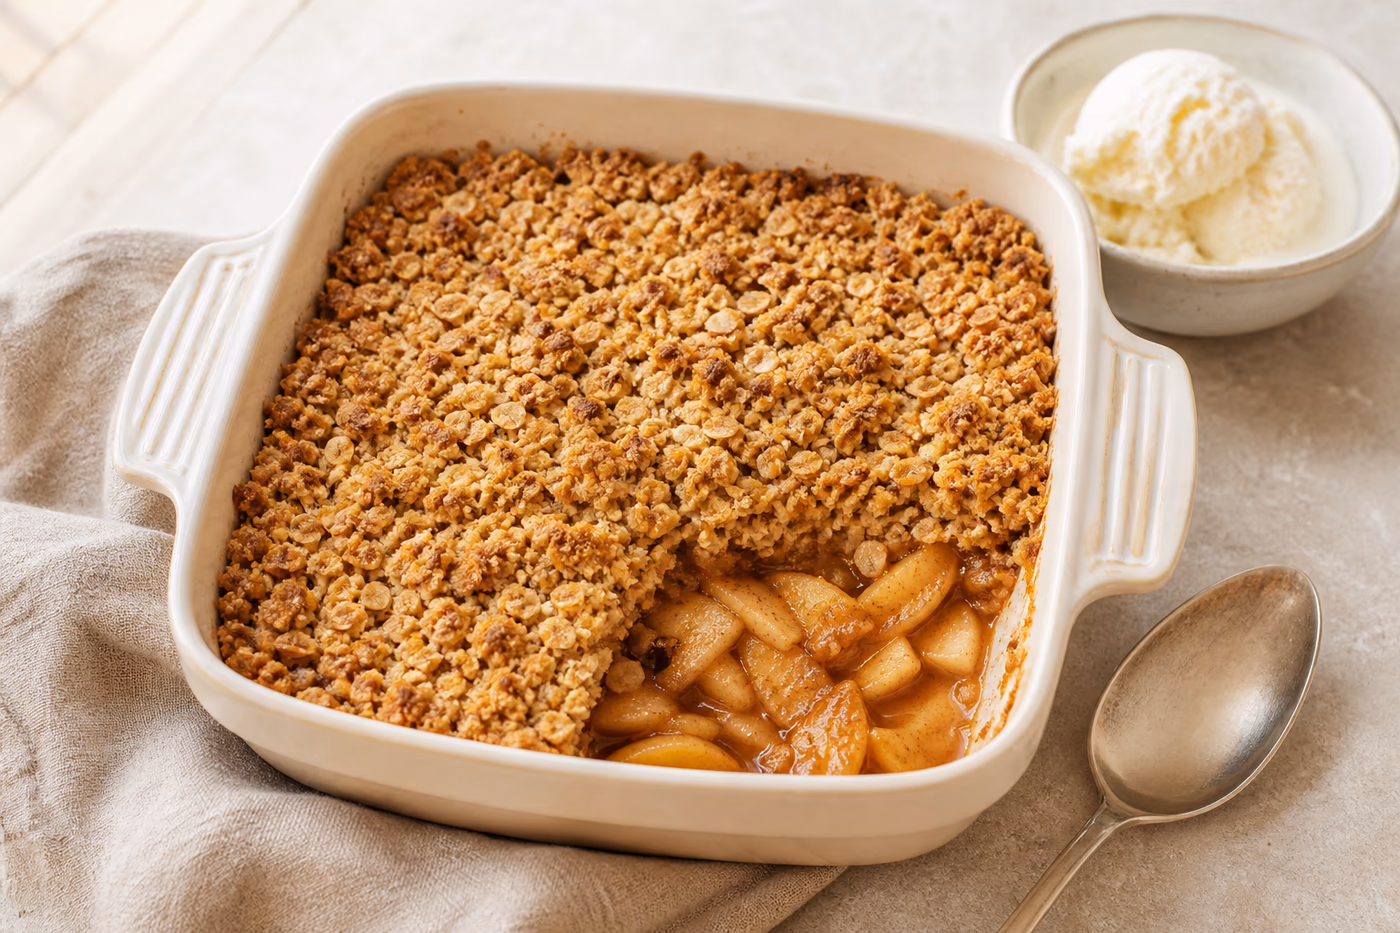
Serve these cold with coffee, milk, tea, or sliced bananas if you want something fresh beside the chocolate. If you want a warm dessert instead, make the one bowl chocolate cake or apple crumble with oats. If you want baked cookies, the small-batch chocolate chip cookies are the oven-on answer.
For a gentle weekend rhythm, make the bars after a Sunday kitchen reset only if it still feels easy. Press, chill, slice, put the rest away. That is the whole point.
FAQ
No-bake peanut butter bar questions
Can I make these without graham crackers?
Yes, but the texture will change. Use finely crushed digestive biscuits, vanilla wafers, or crisp cookies as a similar crumb swap. Avoid soft cookies because they can make the base heavy and pasty.
Can I use natural peanut butter?
I do not recommend separated natural peanut butter for the most reliable bars. A no-stir natural-style jar can work if it is smooth and stable. If the base looks dry, add a little more peanut butter; if it looks greasy, add a little more graham cracker crumb or powdered sugar before pressing it into the pan.
Why did my chocolate crack when I sliced the bars?
The chocolate was probably too cold and firm. Let the slab stand for about 5 minutes before slicing, or warm the knife under hot water and wipe it dry between cuts.
Can I freeze no-bake peanut butter bars?
Yes. Freeze cut bars tightly wrapped or layered with parchment in a freezer-safe container. Thaw them in the refrigerator for the neatest texture.
How long can peanut butter bars sit out?
For serving, bring them out for a short dessert window, then return leftovers to the refrigerator after a couple of hours. For storage, keep the bars covered and cold so they stay firm and slice cleanly.
Note
Nutrition note
Nutrition will vary with bar size, peanut butter, chocolate, graham crackers, butter, sugar, and toppings. Use the ingredient amounts here as the recipe anchor, then adjust for your household and any dietary needs.